After installation, the first thing to do is verify that the connection is live. Of the two methods below, check the plugin first. The plugin’s Connect button is the most direct indicator, and you’ll notice immediately when a connection is lost.
1. Check via Plugin (Recommended)
Open Roblox Studio and check the plugin’s Connect status — that’s all you need. Once the MCP installation is complete, the plugin is automatically placed in the Roblox Studio Plugins folder the first time the MCP server runs.
Step 1 — Find the WEPPY Button in the Plugins Tab
When you open Roblox Studio, the WEPPY button appears in the top Plugins tab.

Step 2 — Open the WEPPY Panel and Click Connect
Click the WEPPY button to open the panel. Click Connect to connect to the MCP server. Once connected, the status indicator at the top changes to Connected.

What to Verify
- The top status indicator shows Connected
- If there is an active session, the session label is visible
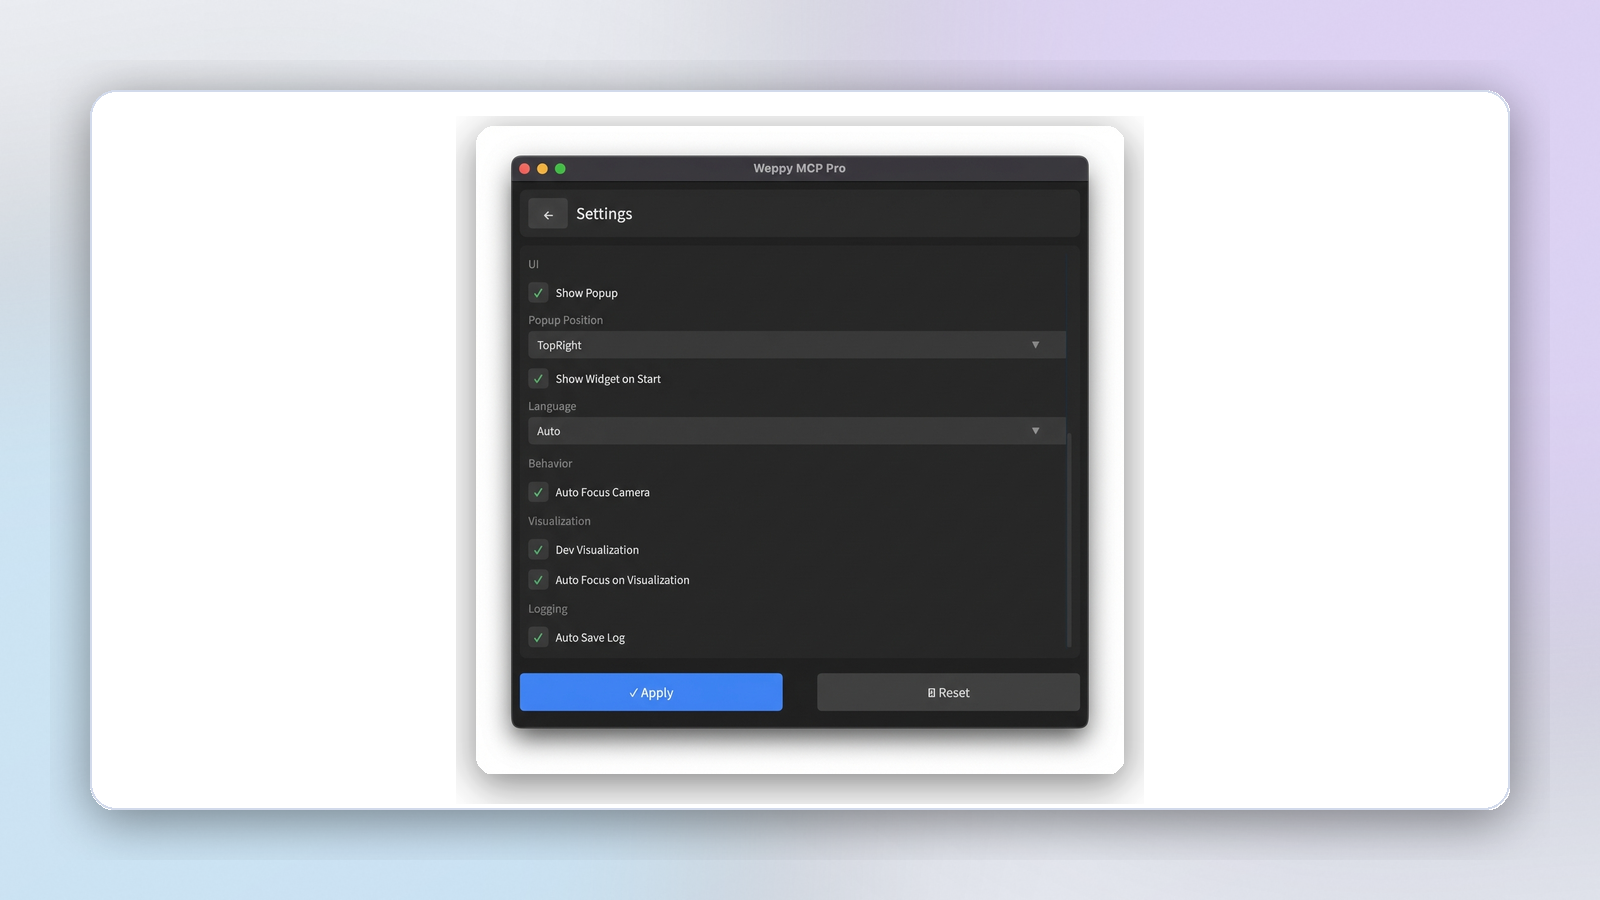
Plugin Settings
The plugin settings screen lets you adjust the following options.
- Auto Connect — Automatically connect to the MCP server when Studio starts
- Auto Reconnect — Automatically retry when the connection is lost
- Language — Change the plugin UI language
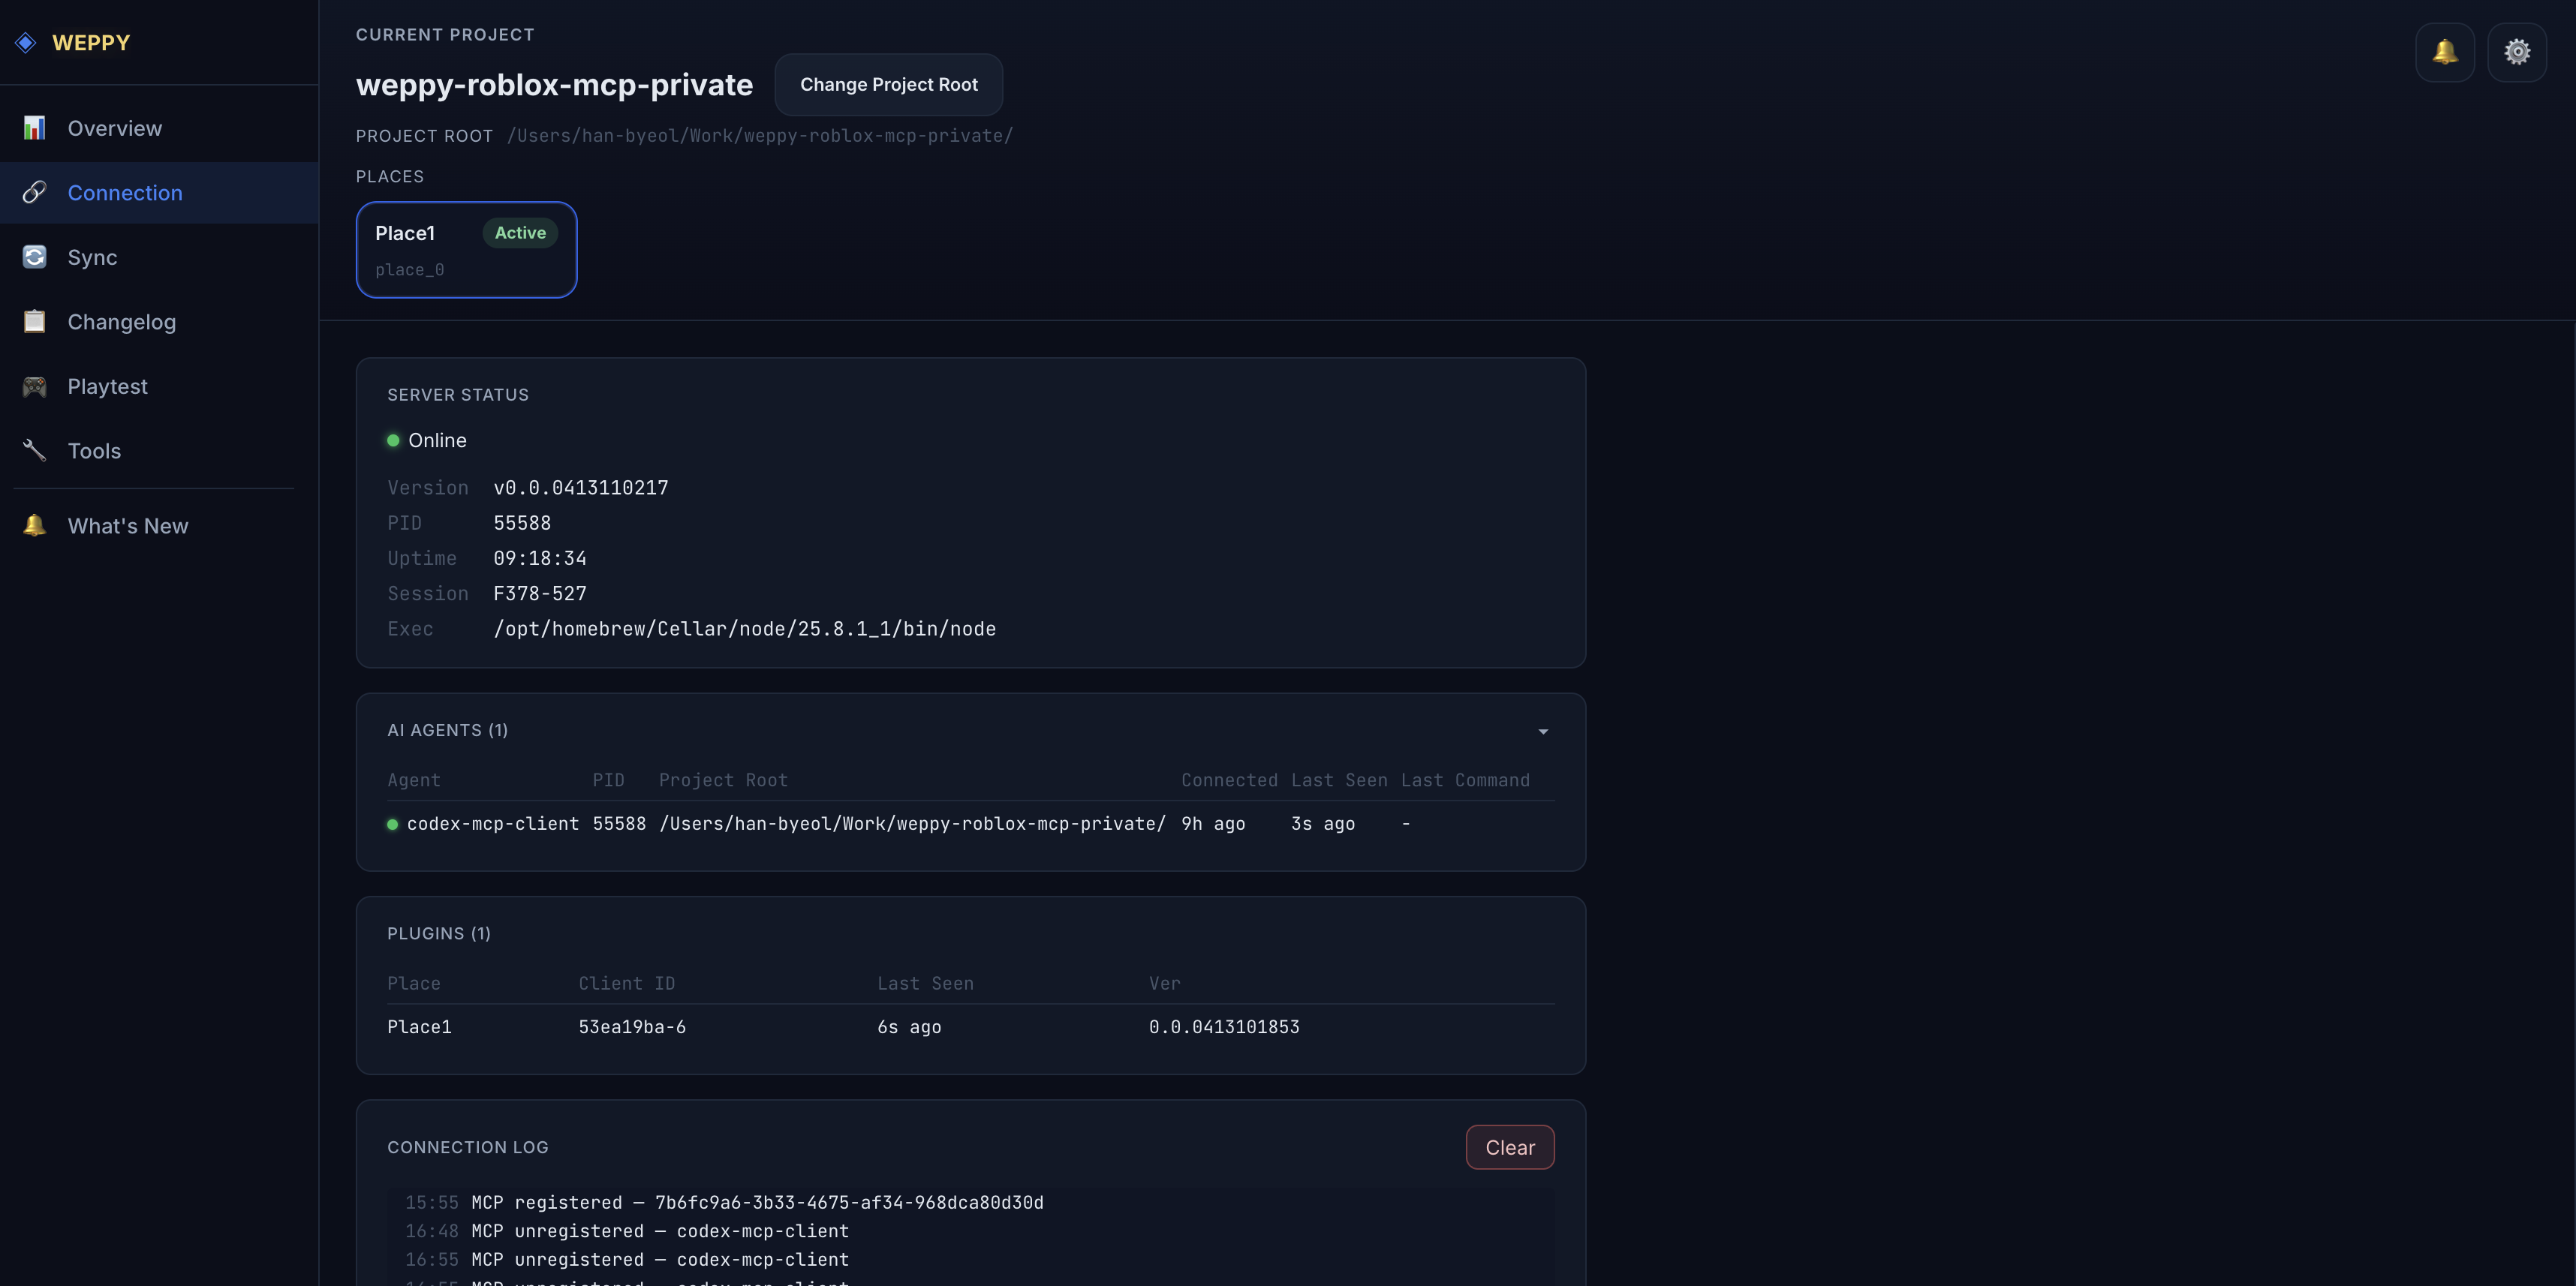
2. Check via Dashboard
Even when the plugin is connected, use the dashboard when you need to see the full connection map: which AI agents are attached, which Roblox Studio windows are available as Studio Targets, and how connection events are flowing. The dashboard opens automatically at http://localhost:3002 when the MCP server starts.
Connection Topology
The first card shows the runtime shape at a glance: AI agents connect to one MCP server, and one or more Roblox Studio windows connect as Studio Targets. The MCP Server node also shows the current routing mode for agent requests that do not name a specific Studio target.
AI Agents
The AI Agents column and diagnostic table show the clients currently attached to the MCP server. Use this when you need to confirm that Claude Code, Codex, Gemini, or another agent is connected from the expected project folder.
Studio Targets
Studio Targets are the connected Roblox Studio windows that can receive MCP requests. Each target has a read-only Studio ID such as studio-1, plus place information, last-used timing, connection state, and a Priority or Pinned badge when it is the default target for requests without a named Studio.
When several Studio windows are connected, copy the Studio ID and include it in your prompt, for example: use Studio ID studio-1. To change the default target for requests that do not name a Studio, open Controls → Studio Routing from the Connection page.
Server Status and Connection Log
Server Status shows core MCP process information such as version, uptime, session, and executable path. Connection Log shows agent and Studio Target connect/disconnect events in real time through SSE.
3. When Connection Fails
If neither method above shows a connection, check in the following order.
Plugin Not Visible
- Fully quit Roblox Studio and relaunch it
- Check that the WEPPY plugin file is present in the auto-installed Plugins folder
- If auto-install didn’t work, see the Plugin Installation Guide for manual installation steps
Connect Fails in the Plugin Panel
-
Verify that your AI app is actually running the MCP server. You can also run it directly:
npx -y @weppy/roblox-mcp@latest -
Check that port
3002is available — quit any process occupying it -
Make sure no firewall, antivirus, or VPN is blocking
localhost:3002 -
Check that the Auto Reconnect option is enabled in the plugin settings
-
If none of the above works, restart both Roblox Studio and the MCP server
Dashboard Doesn’t Open
- Check the AI app console logs to verify the MCP server started successfully
- Open
http://localhost:3002directly in your browser - The server only binds to
127.0.0.1. It cannot be accessed from any other host.
Agent Not Registering
- Review the per-agent setup guide for your AI app to re-check the MCP registration steps
- Fully quit your AI app and relaunch it (Codex CLI, Cursor, and Claude Desktop all require a restart when registration changes)