Keep Lobby, Game, Shop, and Tutorial Places open in separate Roblox Studio windows, then split one request across them by Studio ID.
When to Use It
Many Roblox experiences are made of several Places. You may need a portal in Lobby, an arrival point in Game, a Shop UI, and Tutorial guidance that all match the same event or feature.
Multi-Place Work connects multiple Roblox Studio windows to one MCP server. The Dashboard labels each Studio window with a Studio ID such as studio-1 or studio-2, and the AI agent uses that ID to send work to the right Place.
The benefit is less repeated context and less manual copying. You can say “do this in Lobby and that in Game” in one request. If you use several agents in separate sessions, each agent can name its own Studio ID, and the Dashboard still shows which agent and Studio target are active.
Setup
- Open each Place in its own Roblox Studio window.
- Connect the WEPPY Plugin in each Studio window.
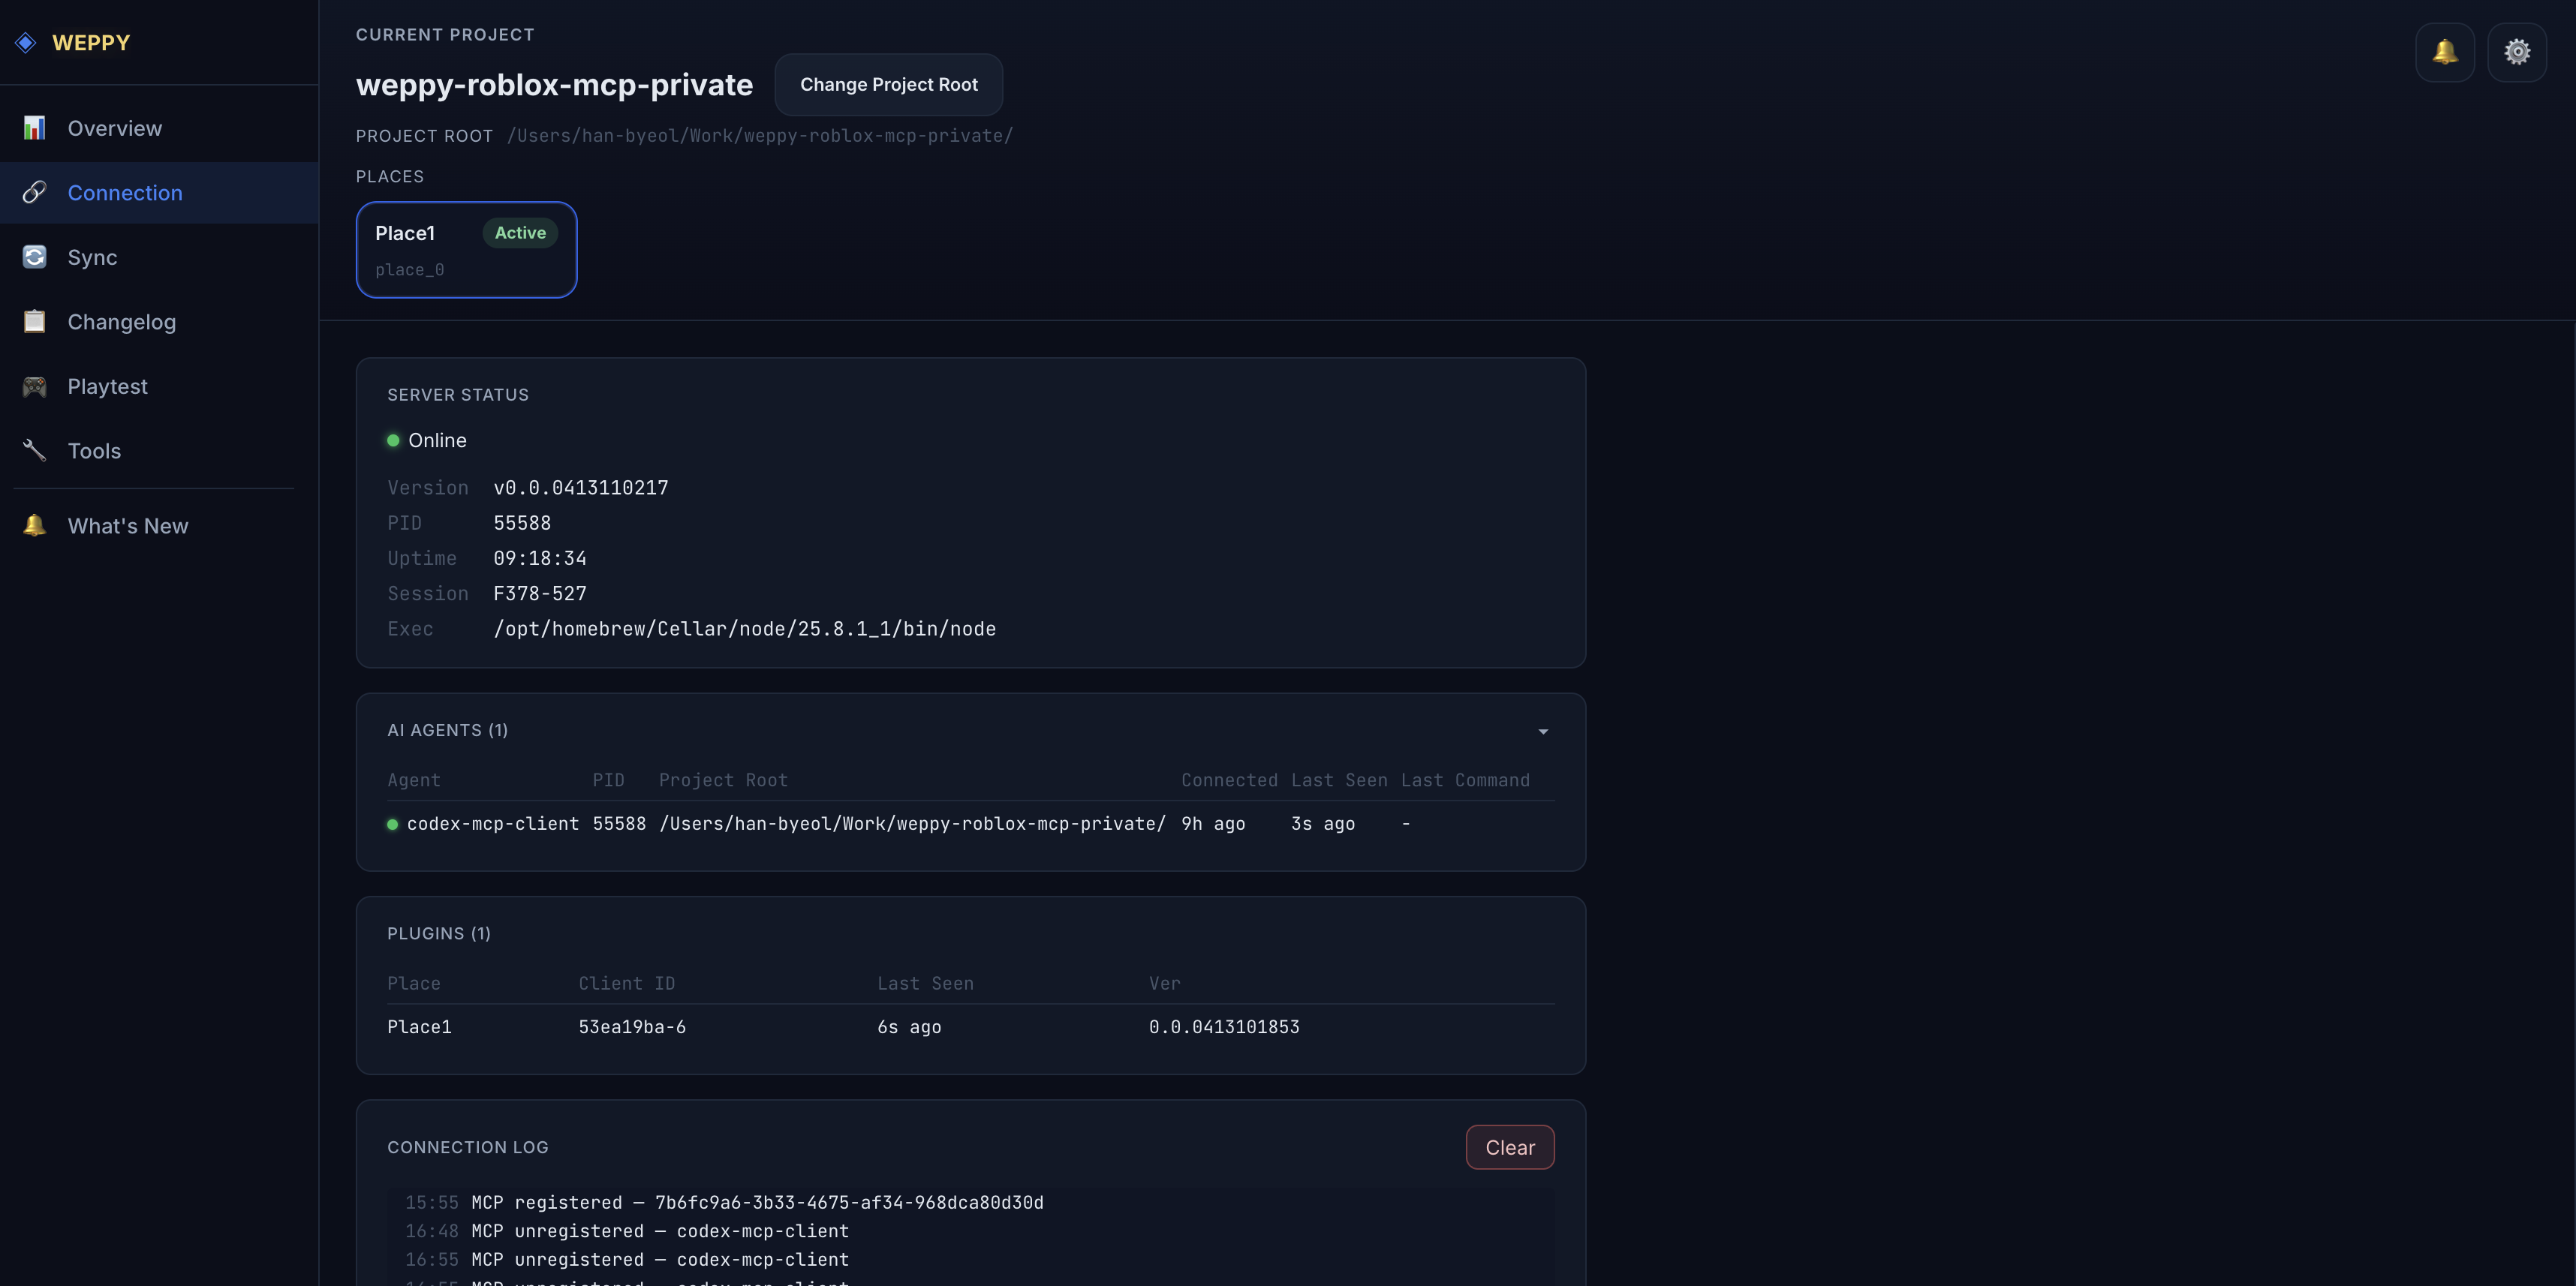
- Open the Dashboard Connection page.
- Check the Place name, Place ID, and Studio ID under Studio Targets.
- Put the Studio ID and Place role in your prompt.
If Dashboard shows Lobby as studio-1 and Game as studio-2, prompt like this:
studio-1 is Lobby, and studio-2 is Game.
In Lobby, add the event portal and reward guide UI.
In Game, add the portal arrival point and guide message.
Prompt Patterns
Split One Request by Place
In studio-1 Lobby, create the shop entrance button.
In studio-2 Game, add a button that returns the player to Lobby after the round ends.
Use the same text and color rules in both Places.
Use Separate Agent Sessions
One agent cannot directly assign work to another agent. If you use Claude and Codex at the same time, prompt each app or session separately.
Claude session:
Update the event UI in studio-1 Lobby.
Before changing shared ModuleScripts, explain the plan first.
Codex session:
Inspect the portal arrival script in studio-2 Game.
If a shared ModuleScript needs to change, explain the required change first.
This works when several agents are connected to the same MCP server. Check the agent and Studio Target in Dashboard, then name the target Studio ID in each session’s prompt.
Use Assets Across Places
Create a gem icon for the shop button, save it as a shared asset,
then apply the same asset URI to ShopButton in studio-1 Lobby and RewardPanel in studio-2 Game.
Validate Each Place with PlayTest
In studio-1, check that the portal button is visible.
In studio-2, run a Run-mode test to confirm the arrival script starts without errors.
Routing Rules
WEPPY follows the most explicit target in the request.
| Priority | Targeting method | How it works |
|---|---|---|
| 1 | Studio ID / Connection ID / Place ID | An explicit target in the prompt always wins. |
| 2 | Pinned Studio | If no target is named, Dashboard can pin a Studio target. |
| 3 | Recent priority | If nothing is named or pinned, WEPPY picks the active Studio that recently received real work. |
For Multi-Place work, name the Studio ID whenever possible. A Place name alone can be ambiguous in large projects.
Avoid Editing the Wrong Place
- Check the Studio ID and Place name on the Dashboard Connection page first.
- Start the prompt with a mapping such as
studio-1 is Lobby, studio-2 is Game. - Before destructive or bulk changes, ask the AI to print the target Place and plan.
- After the request, review Dashboard Changelog for the changed Place and change type.
- Run PlayTest separately in each Place when the change touches gameplay.
Next Steps
- Use the MCP Dashboard Guide to inspect Studio Targets and routing state.
- Use the Assets Guide to share generated assets across Places.
- Use Playtest to validate each Place after changes.